The Final Synthesis: Polishing the Masterpiece
The last mile is the hardest. Learn the technical check-list for finalizing your Capstone project, ensuring high-fidelity outputs and seamless integration.
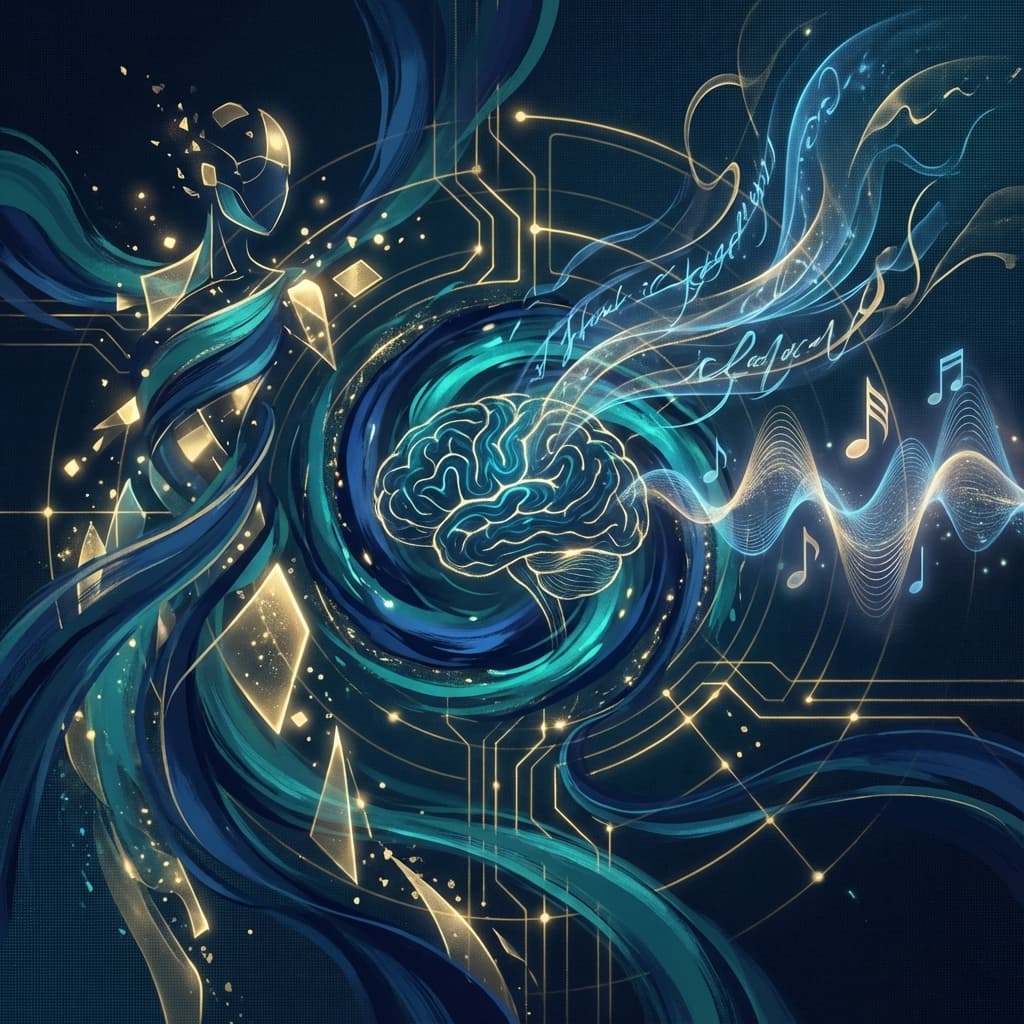
The Polished Final: Bridging the Gap to Professionalism
You have the "Raw Materials" of your project. The story is drafted, the images are generated, and the soundtrack is recorded. But right now, they are probably sitting in 5 different folders in 5 different formats.
This is where many creators fail. They ship the "Raw" work.
In this lesson, we will perform the Final Synthesis. We will look at the "Top-Layer" Tools that act as the "Varnish" for your AI project, ensuring that every pixel, word, and note feels deliberate, high-resolution, and industrial-grade.
1. Visual Polish: Upscaling and "Defanging"
Raw AI images often have a "Muddy" or "Noisy" quality. They look good on a phone, but terrible on a 4k monitor.
The Polish Stack:
- Magnific AI / Topaz Photo AI: Take your 1024px images and upscale them to 4096px. This adds the "Micro-detail" (skin texture, fabric weave) that makes it look like a high-end photography.
- Color Grading: Use a tool like Adobe Camera Raw or Lightroom to apply a "Unified Filter" across all images. This ensures the "Blue" in Image 1 matches the "Blue" in Image 5.
2. Audio Polish: The "Mastering" Pass
If you have a voiceover and music, you need to ensure they don't "Fight" each other.
The Workflow:
- Ducking: Use an AI-capable DAW (like Descript) to automatically "Duck" (lower) the music volume whenever the Voiceover speaks.
- The "Loudness" Normalize: Use Landr to ensure the volume is consistent across the whole project. You don't want the user to have to reach for the volume knob halfway through.
graph LR
    A[Raw Audio: Music & Voiceover] --> B{AI Mixing Agent}
    B -- Step 1 --> C[Ducking: Music dips for Voice]
    B -- Step 2 --> D[Normalizing: Stable Volume]
    B -- Step 3 --> E[Mastering: Clear Highs/Lows]
    E --> F[Radio-Quality Audio]
3. Text Polish: The "Hallucination" Sweep
This is the most boring but most important step. Do not skip it.
- The Task: Read every single word.
- Verify: Did the AI invent a date? A fact? A quote?
- Style: Search for "AIisms"—those words like "tapestry," "delve," and "leverage" that we talked about. Replace them. Delete them. Make it sound like You.
4. The Final Assembly: Building the Experience
How will people "Consume" your Capstone?
- Option A: The Video Teaser: Use Canva or CapCut to combine your images, text (as subtitles), and audio.
- Option B: The "Interactive Document": Use Notion to embed the audio tracks alongside the images and text.
- Option C: The "Pitch Deck": Use Gamma.app or Canva to automatically turn your integrated assets into a high-end presentation.
graph TD
    A[Asset: Polished Text] --> B{Assembly Node}
    C[Asset: 4k Visuals] --> B
    D[Asset: Mastered Audio] --> B
    B -- Option 1 --> E[Modern Landing Page]
    B -- Option 2 --> F[Cinematic Video Trailer]
    B -- Option 3 --> G[Interactive PDF/E-book]
5. The "Fresh Eyes" Test (AI as the User)
Before you hit "Submit," show your Final Assembly back to the AI.
- The Prompt: "I am an investor / a reader / a customer. I am looking at this final project [Paste Assembly link/text]. What is the FIRST negative thing I will notice? What is the most 'Confusing' part of the narrative?"
Summary: Excellence is in the Details
In 2026, the "Middle of the Pack" is crowded with people using AI for "Speed."
The Top 1% are those who use AI for "Volume" but then use Human Craftsmanship for the "Last Mile." By performing this final synthesis, you ensure that your Capstone doesn't just look "AI-Generated"—it looks Professional.
In the final lesson of the course, we will perform a Post-Mortem Analysis of your project, looking at what worked, what failed, and how you will iterate for your future career as an AI-Powered Creator.
Exercise: The "Final 10%" Checklist
- The Image: Upscale one image using a free or trial tool.
- The Voice: Use an AI enhancer (like Adobe Podcast) on your audio.
- The Text: Delete 5 "Filler" words from your project.
- Reflect: How much did these 3 tiny steps (which took 5 minutes) change the "Vibe" of the project? Does it feel closer to something you would see in a real gallery or store?